How to collect a blood sample
Collecting a sample from the comfort of your home is quick and simple.
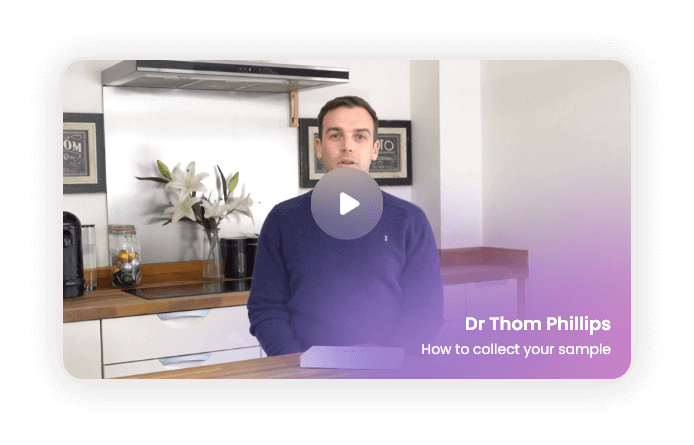
Watch our video to learn more:
Top tips
Collecting your finger prick blood sample is quick and easy, and each sample pack provides full instructions. To help ensure your sample is in ideal condition for our labs to test, there are a few simple things need to remember:
1. Watch our how-to video
Watch our short how-to video which will take you through the process step-by-step.
2. Be well hydrated
Ensure you’re WELL HYDRATED by drinking plenty of water in the hours before the test, and a large glass of water 30 minutes before you collect your sample.
3. Warm hands
Warm your hands up by either a hot shower, or by placing your hands in warm water for around 4 minutes before taking the sample. This ensures good blood flow to the fingers.
4. Be gentle
Don’t squeeze your finger too hard as this can cause the blood cells to burst.
5. Fill to the correct line
Fill the sample tube to the marked line, and if you’ve got a purple tube in your kit you’ll need to give it a shake after every drop added to ensure the sample doesn’t clot.
6. Return your sample
Post your sample on the same day as collection, between Monday and Thursday, which will ensure it gets to our labs in good time.
What happens next
Once you have taken your sample, pop it in the post using the return envelope. Follow the instructions in the above video or instructions sheet in your kit.

After your sample is received by our lab, your results will be available within 2 working days.
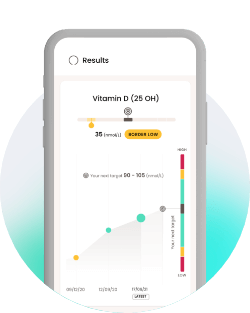
You will then be able to view your results in the FORTH app:
We're here to help
By following the above instructions and in the guide included in your kit, 9 out of 10 customers find it quick and easy to collect a sample.
If you have any questions or issues, we are here to help.